

This post is about creating a Raspberry pi powered remote control car. Before we start I hope you have got your raspberry pi ready and you are able to SSH into it and connect your pi to your wifi network. If not here are two posts on these:
Now, this post will be divided into two parts, the hardware and the software section. You will have to get both the steps complete to get your pi car ready.
Hardware Section
Things to buy :
- Raspberry Pi (I hope you already have it, and got setup done). I’ve got Raspberry Pi 3 Model B which has inbuilt 802.11n Wireless LAN, which means you will not have to buy a wifi adapter.
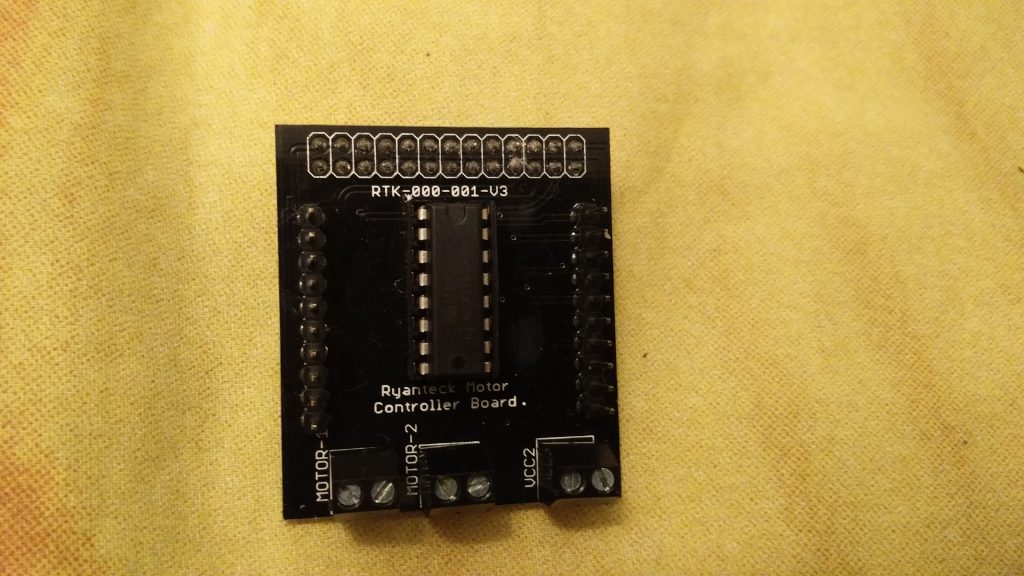
- Ryanteck RPi Motor Controller Board V3 – for controlling 2 motors from your pi.
- Robot Car Chassis
- Micro usb cable for powering pi
- Portable power bank for powering pi
- Few wires for connecting car motors and power to your pi
Assemble Car and wires
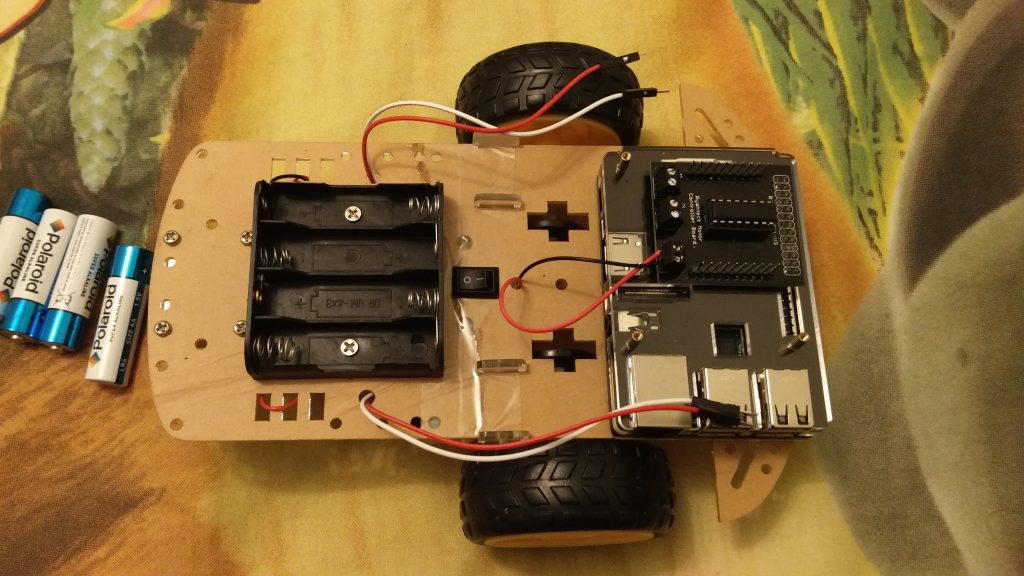
Assemble your Car chassis and connect wires to motors and battery holder case. The Car chassis should have all the instructions with it.
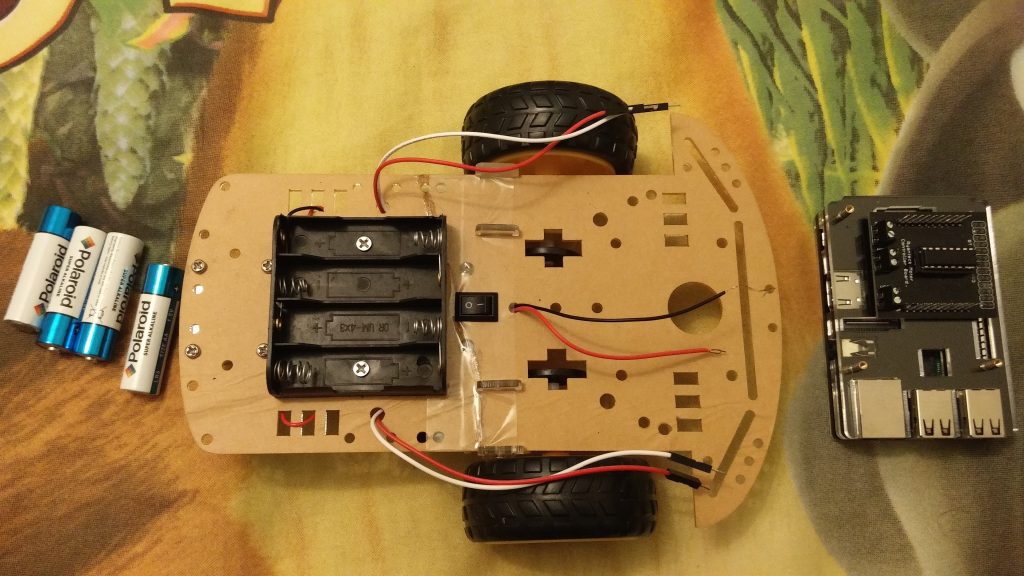
There are 3 sets of wires here:
- Left pair (red-white) for left motor. Polarity of wires is not important.
- Right pair (red-white) for right motor. Polarity of wires is not important.
- Center pair (red-black) for power from batteries. Red wire being positive (+). This is important.
Getting the Raspberry pi ready
Note my pi has got a case but its not required. Skip the case if you want to.
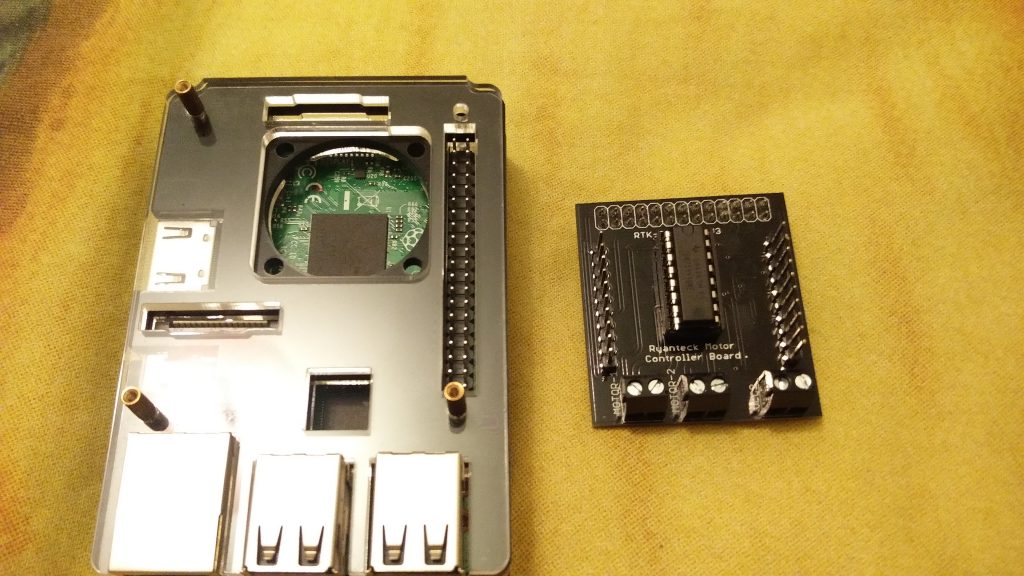
Now we need to fit the Motor controller board on our Pi. The motor controller board has 20 pins that sit right on top for the first 20 pins of the Pi. Do not mess up the pins else you risk your pi.
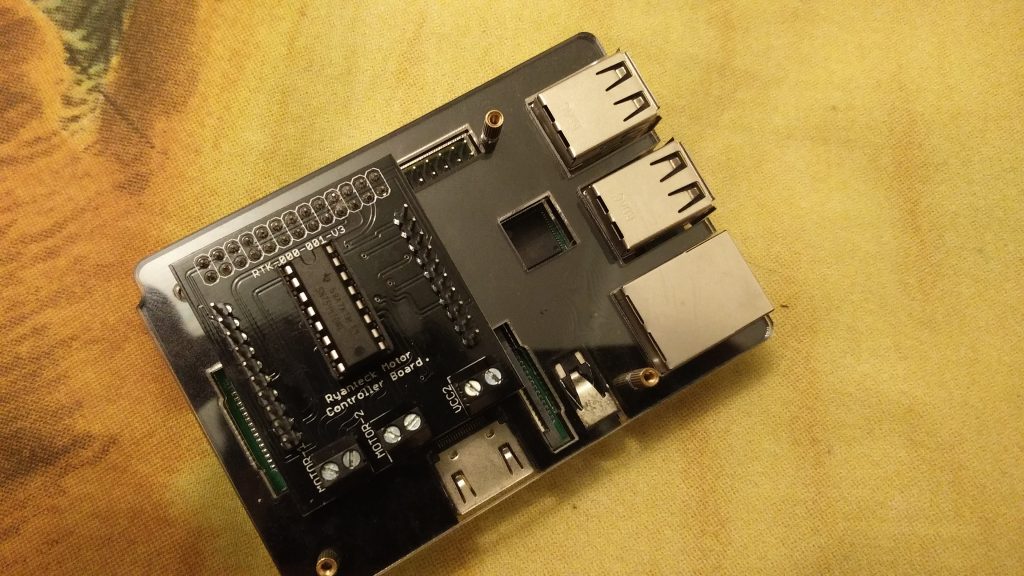
Connect the Pi to the Car
Place the Pi on the car chassis and attach it with tiny screws. The chassis has holes for you to fix the Pi on it. I just used few strings to tie the Pi on the car chassis 🙂
Attach the motor wires to the motor slots on the motor controller board. Note the motor wires can go in any of the two slots provided, but the power wires should go in the right slots. Check here for the circuit diagram and look at the image attached below.
The board uses BCM GPIO 17 & 18 for motor 1 and BCM GPIO 22 & 23 for Motor 2.

Thats all for the hardware part of this post. If you Connect the Pi to a portable power bank you would be able to start the pi and SSH into the Pi.
Software Section
SSH into the pi
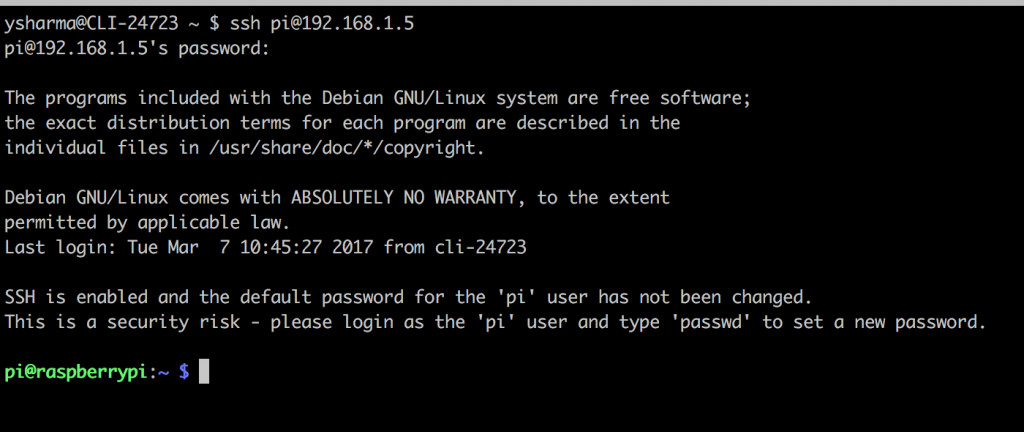
We should be able to ssh into our Pi when its powered by a power bank. Note it may take a minute or two to start and then you could ssh into the Pi. Read this post if you haven’t been able to ssh into it – SSH into a raspberry pi and connect pi to wifi
ssh pi@192.168.1.5
Open terminal and substitute the IP address of your pi in the above command and ssh in. It would prompt you for the password. The default password for the user pi is raspberry.
You can get the ip address of your Pi by :
- physically logging in your Pi via a keyboard or screen and using the command ifconfig.
- Using network tools like – Ping Tools which shows you ip’s of all devices on your local network.
Install Pip and python libraries
Install the required dependencies on your Raspberry pi. Use the below commands.
sudo apt-get install python-pip python-dev build-essential
sudo pip install --upgrade pip
sudo pip install --upgrade virtualenv
sudo pip install bottle
sudo apt-get install git
Get the code
Now we get our code for creating a remote control.
git clone https://yash360@bitbucket.org/yash360/car.git
cd car/code
vi remote.py
Now we edit the remote.py to add our Raspberry pi’s IP address in the script. Look at the top of the script where we have the IP Address section. Substitute your IP address here and save the file.
Now run the python script –
python remote.py
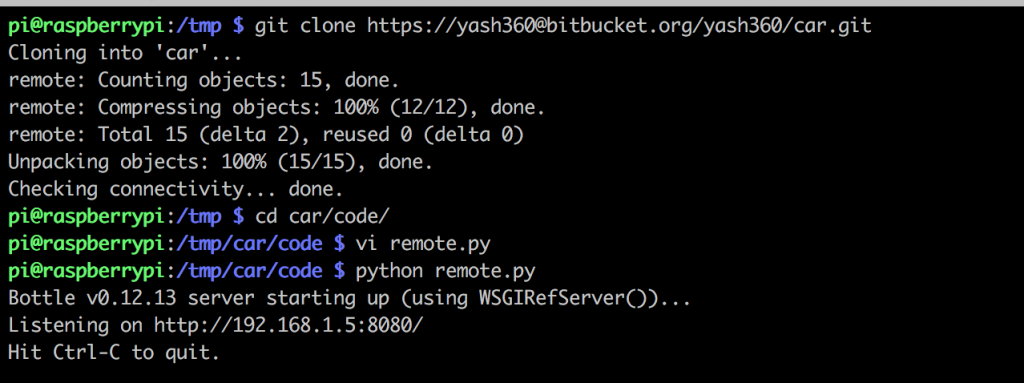
You have now started a rest endpoint for your Raspberry remote.
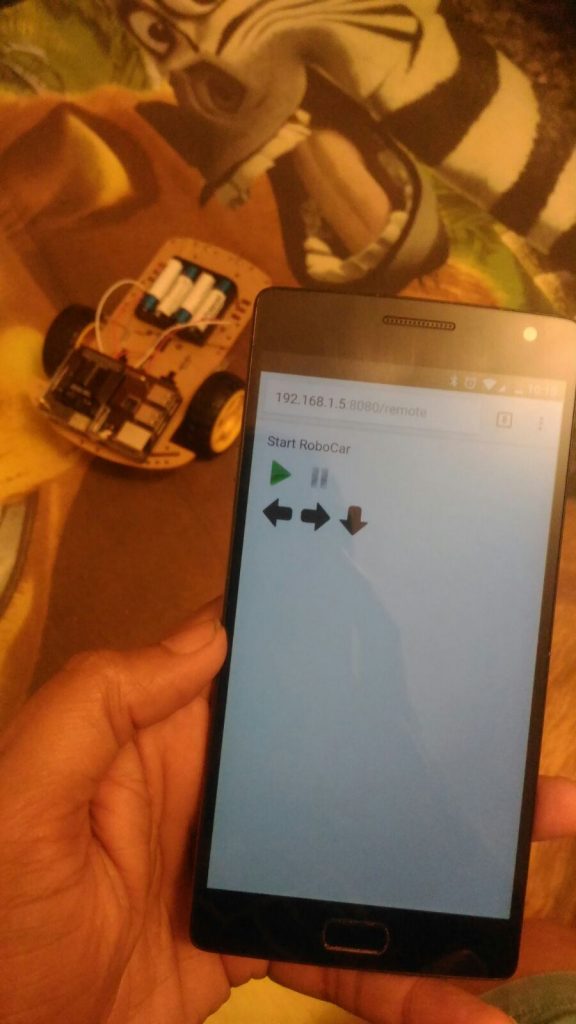
Start the remote control
Open you mobile browser and visit the url
http://192.168.1.5:8080/remote
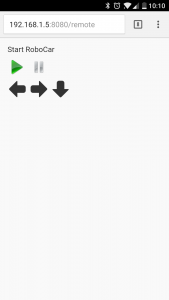
Play with your car
Thats all for the post and we have our car ready. Play around with the code and make changes to see how the car moves around.
Hope you have fun, Cheers.
Note: all the images used in the remote are remotely hosted images, and you might just see blank image boxes if they get removed. Use local images or other images if that happens.
<img id="pause" height="42" width="42" src='https://www.chezyangco.fr/images/pause.png' />
All the code
Code below may have indentation issues, grab all the code from here : https://bitbucket.org/yash360/car/src
This is awesome. Thanks for sharing this. Looking forward to more content like this. 🙂
Nice post. It would help if little info is shared about the pin numbers. Great article btw.
Updated the post with pin information.